 Michail Lyamaev
Mandrel for winding coils:
While the calculation of the windings is in progress, we will manufacture equipment for winding coils from improvised means.
Often there are people who think that without a winding machine with an automatic revolution counter, and other professional accessories, it is impossible to make a winding. We decided to prove otherwise, since we do not have an automatic typewriter, so we will wind in an old-fashioned way, in a proven way, on a log.
For this, first of all, it is necessary to make this log:
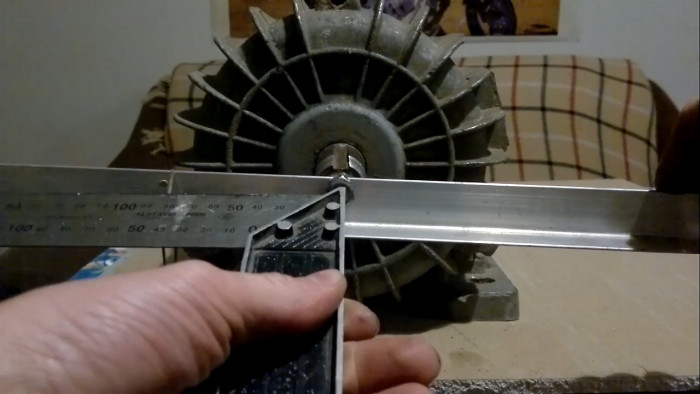
The tooth parameters in the wide part are 11 mm. The height of the set of iron is 9 centimeters, but add a centimeter on both sides, we get 11 cm.
Total mandrel size is 11 cm long and 11 mm wide. We will grind so that it is convenient to hold in your hand.
The blank will be the so-called “inch” 22 mm thick, 15 cm wide. We saw off a piece of 15-20 cm (as in the picture) we think is enough.
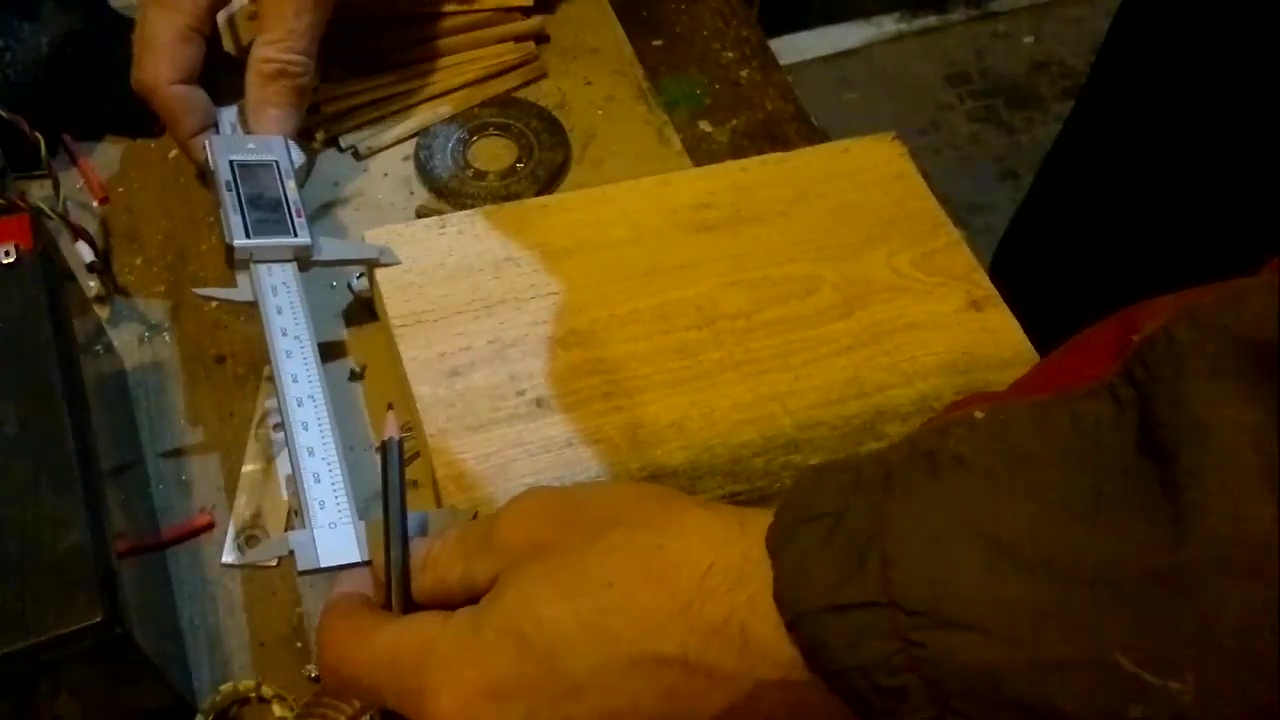
Next, draw the dimensions (a little with a margin for grinding).
We cut out the geometry, and then adjust the dimensions with a grinder and a plane.
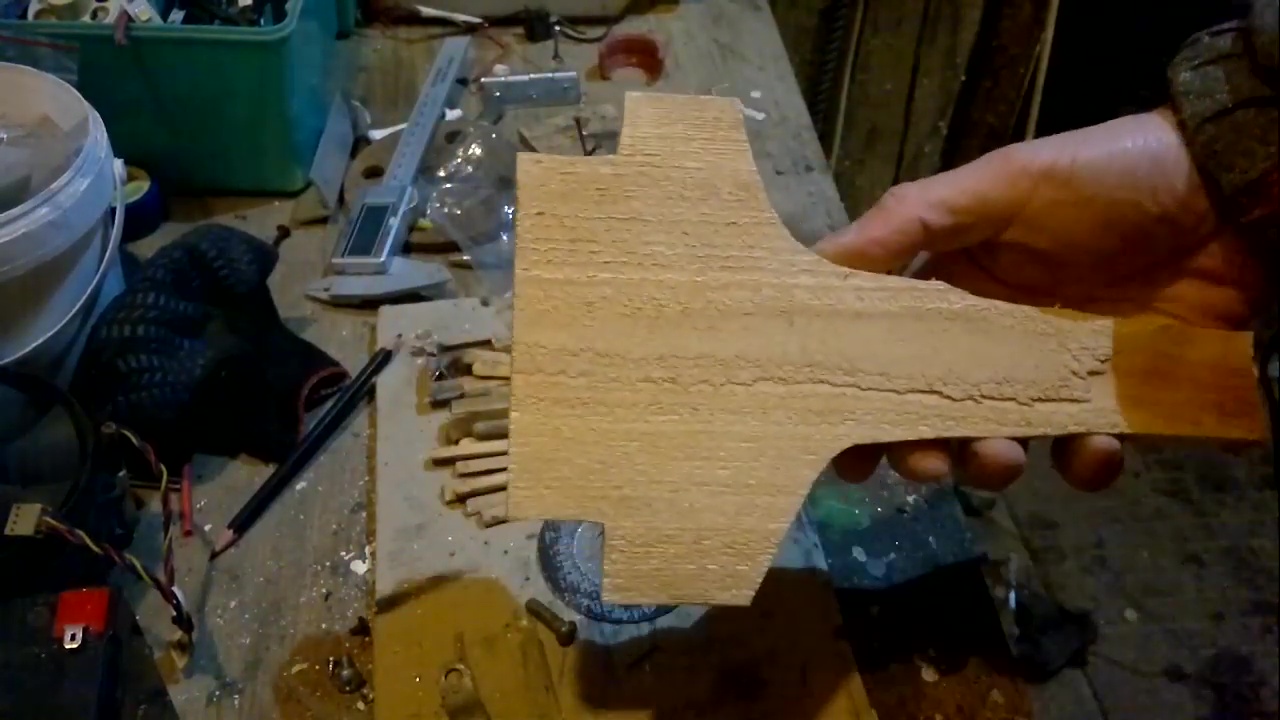
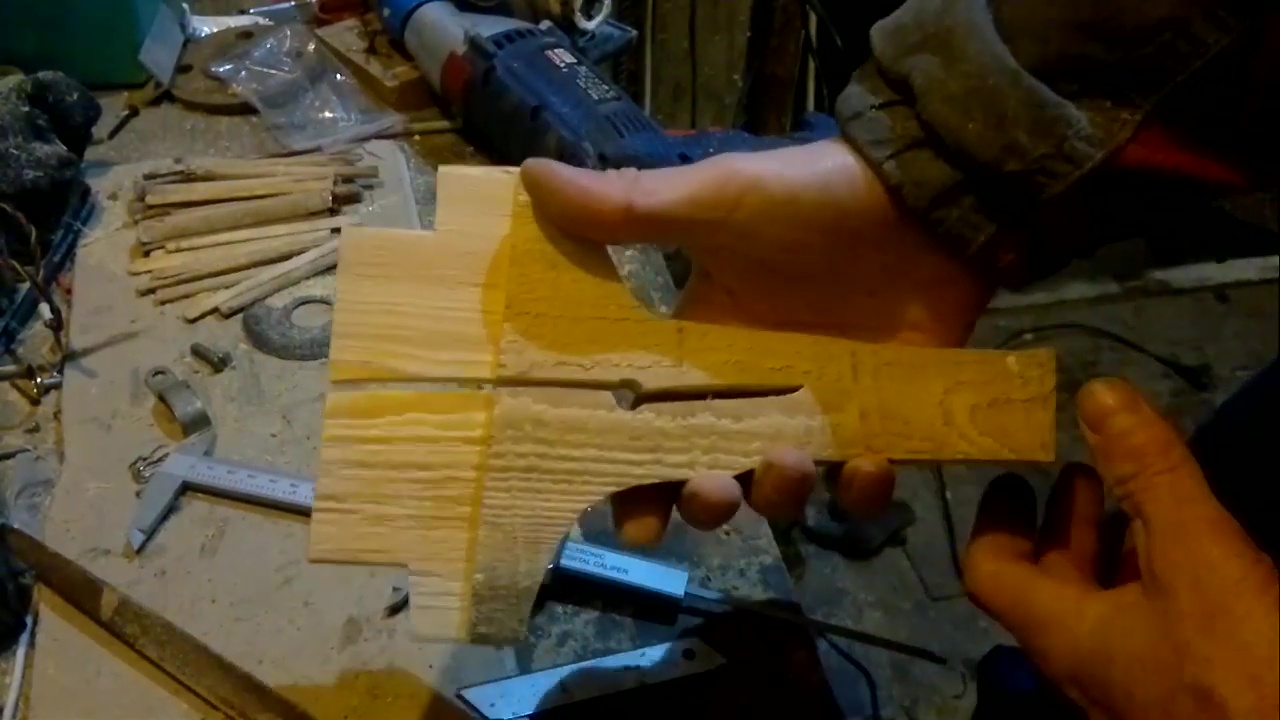
Sizes fit a bit leaving a margin. Next, you need to make a cut in the middle, so that later you can move and remove the coil. Also, the side parts (as in the picture) must be filed so that they go under a small cone, so that it is convenient to remove and we will grind everything.
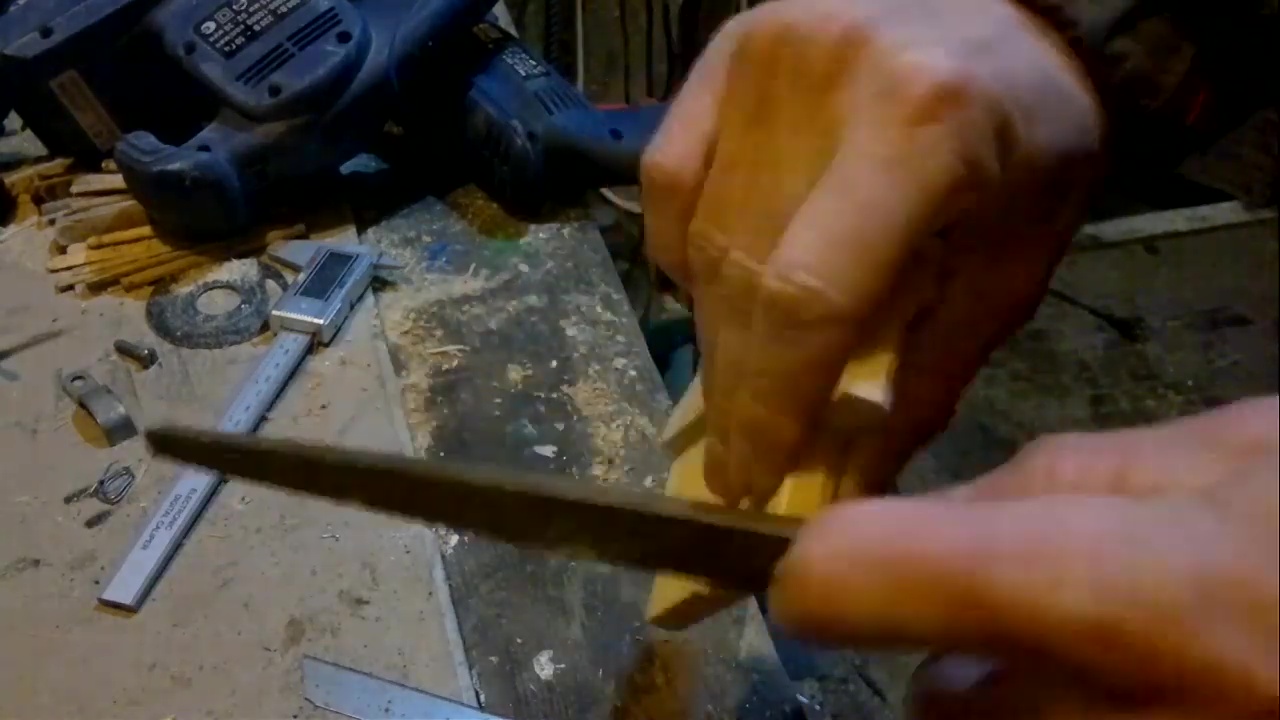
The photo shows the side part made by a cone, no more sawing is needed, this is quite enough and it is advisable to do this with a file.
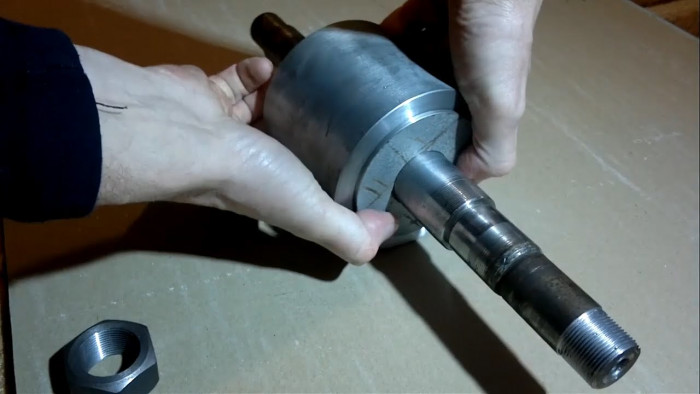
Result:
So from the means at hand, without resorting to the help of a lathe and craftsmen, you can do such a thing yourself.
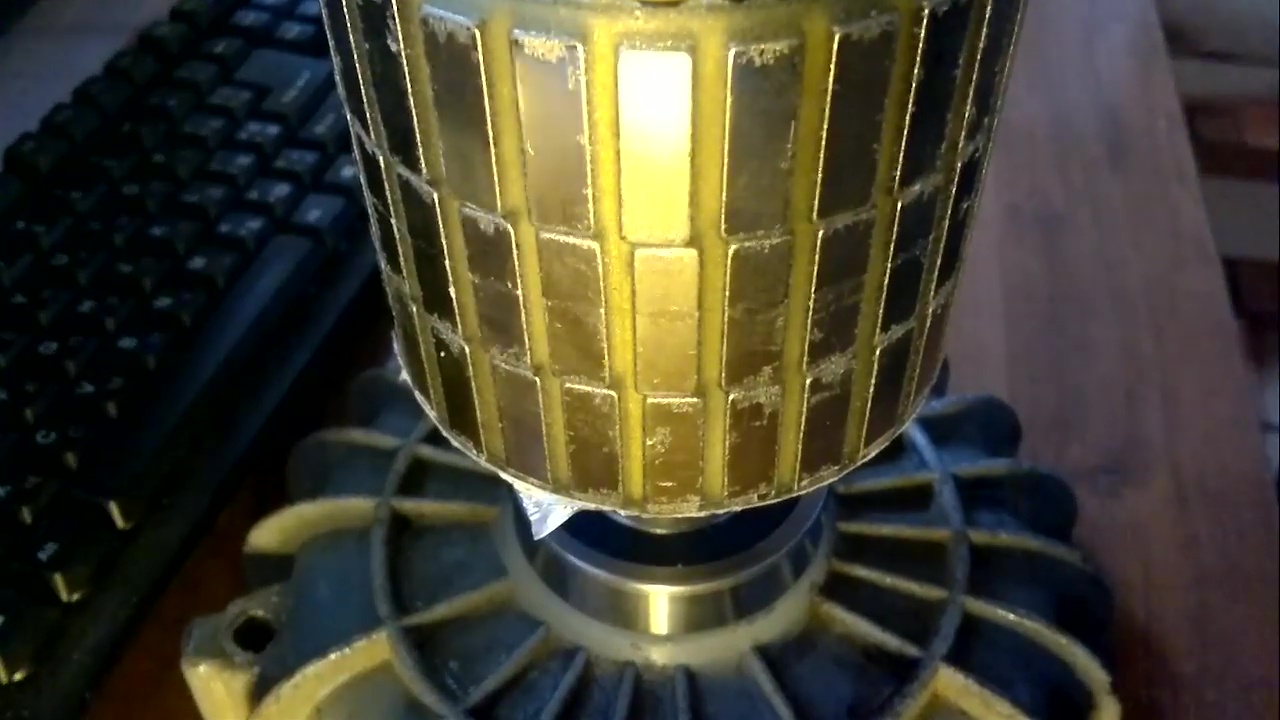
We will also look at the result of pouring the rotor.
Since the first time, as you remember, the resin did not dry out, and we did it again.
The main problem when pouring is bubbles. From the second time everything turned out fine, the resin hardened and there were no bubbles. Scotch tape is lagging well, aluminum tape did its job and no leaks occurred.