 Michail Lyamaev
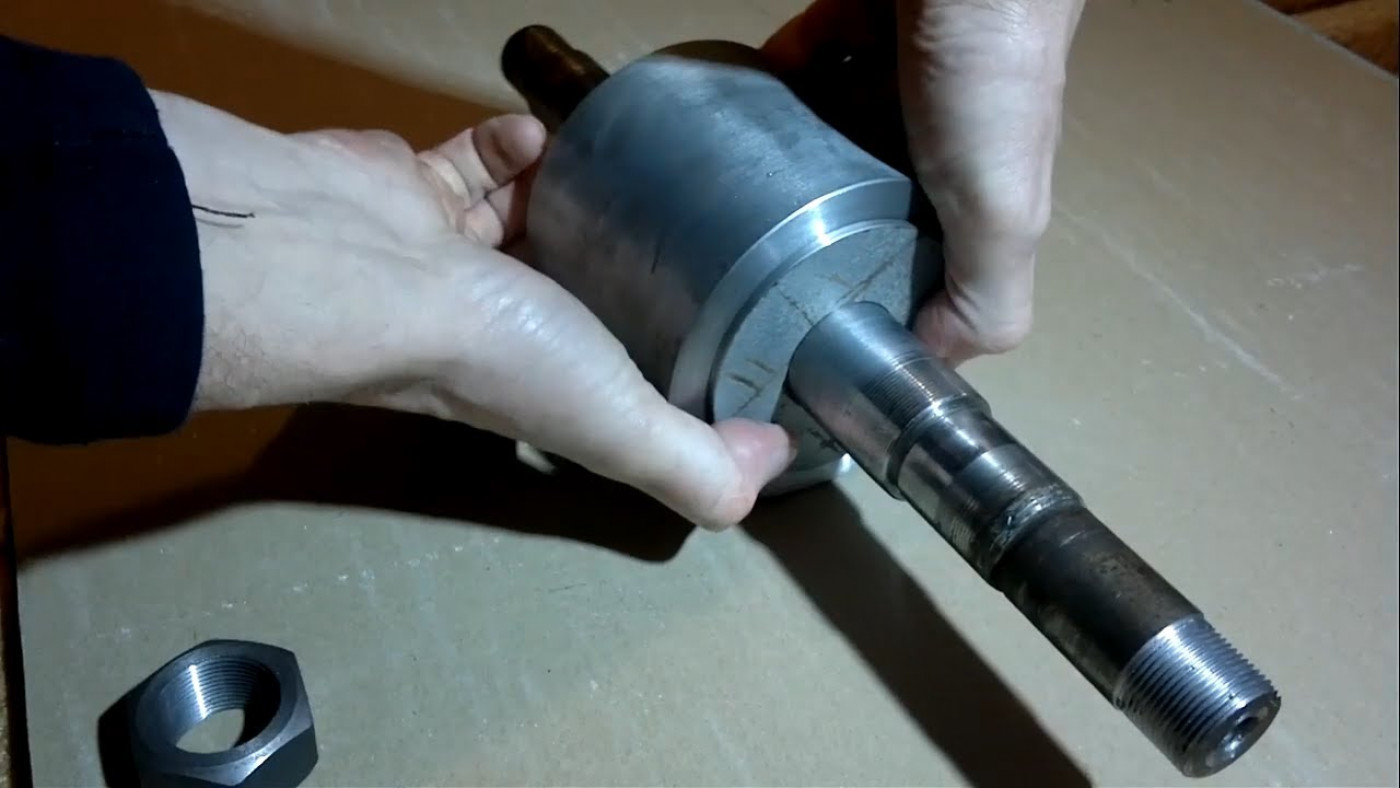
Today we are starting a series of articles on wind turbine making.
The working name of the project is the Windmill «NoName-1».
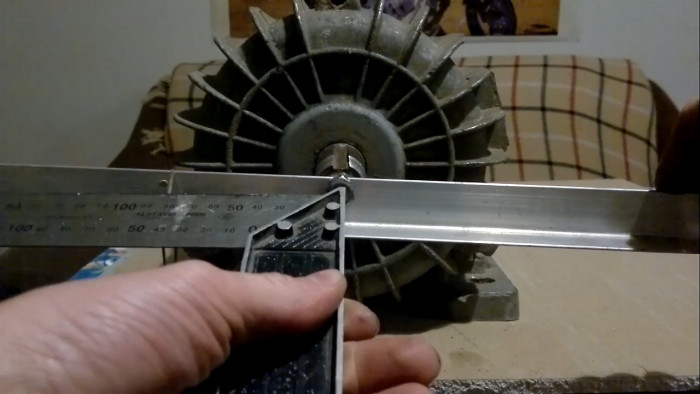
Based on the induction motor AOL2-31-2UZ. 2880 rpm, 3 kW. The rotor diameter depends on the inner diameter of the stator.
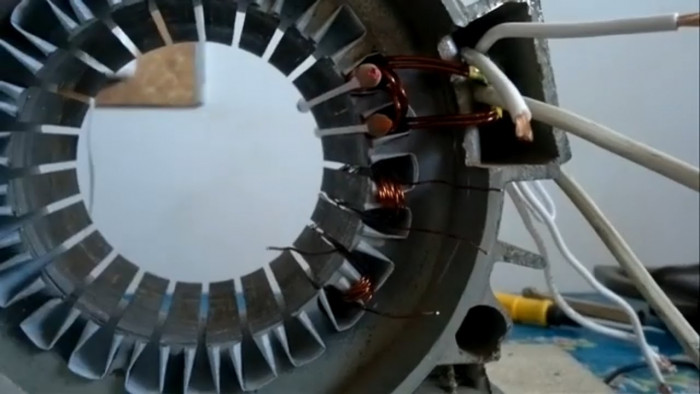
Using standard windings is not an option, because even if you use 220 volts to power, up to 2800 working revolutions, no screw can be unscrewed in the operating ranges of the wind generator. Therefore, the first option is the winding of the windings, the 2nd option is the multiplier. Our choice is rewind.
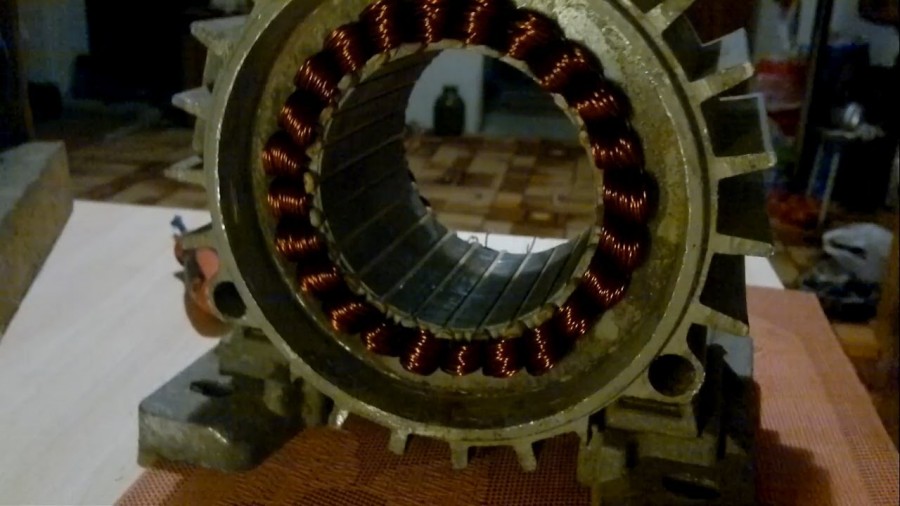
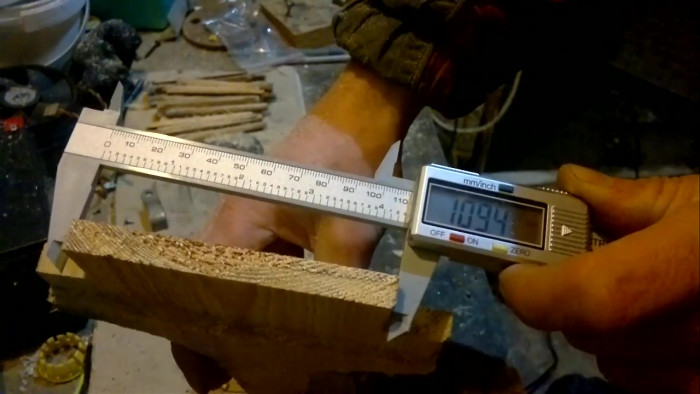
We have 24 teeth about 11 mm wide, magnets 10 mm, but because the stator set is 9 cm and the magnet is 3 cm, that is, there are 3 magnets in the row at one pole and just moving them a little, you can fill the entire width tooth on the total length of the magnetic pole.
Let's get started.
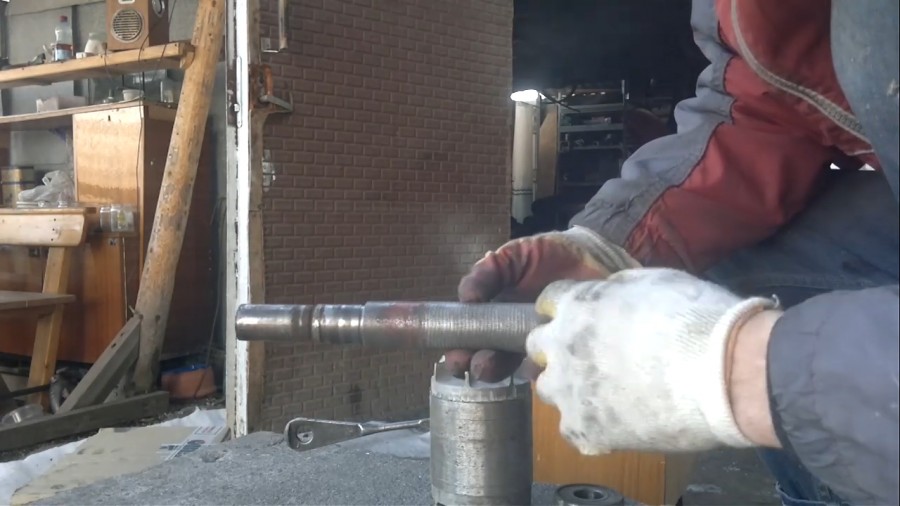
To begin with, we cut off the rotor in order to make an all-metal rotor under it. Before cutting, it is recommended to make a couple of splashes of paint inside, so that the border is clearly visible as the old rotor was dressed on the shaft. Next grinder and go to dismantle. To remove the old anchor, it is necessary to make a cut along the entire length. It is desirable to make a cut with a disk of the same thickness, otherwise the disk may jam, which can lead to sad consequences.
In the photo we see why to paint, now the borders are clearly visible.
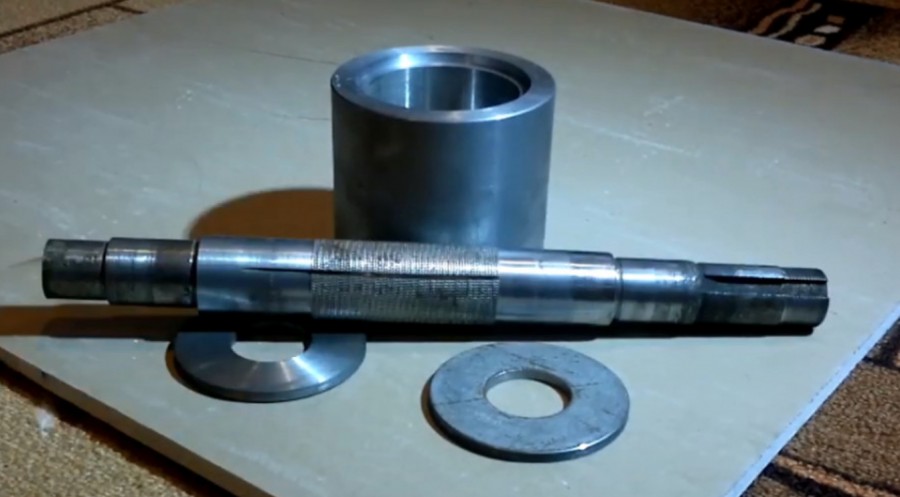
The next step is the shaft that has been removed. It must be transferred to the drawing with the necessary recesses in order to give it to the turner, unless of course you do not own the lathe yourself.
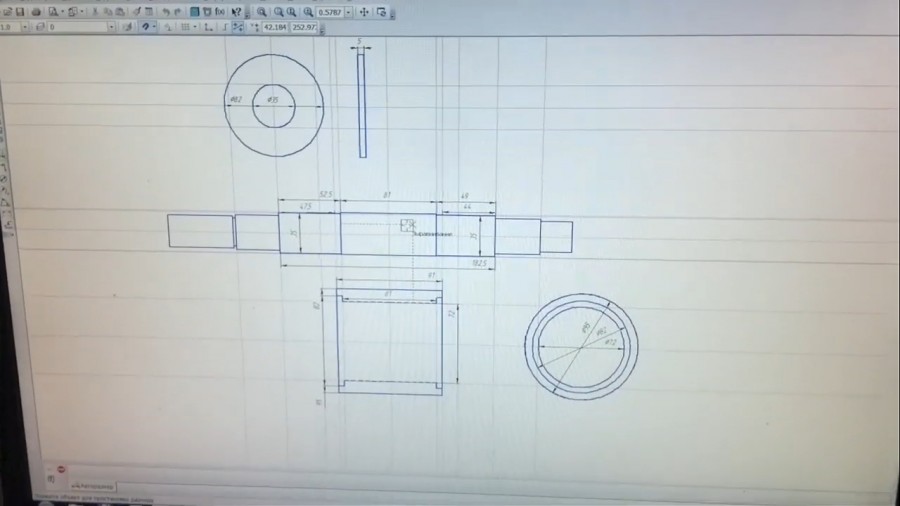
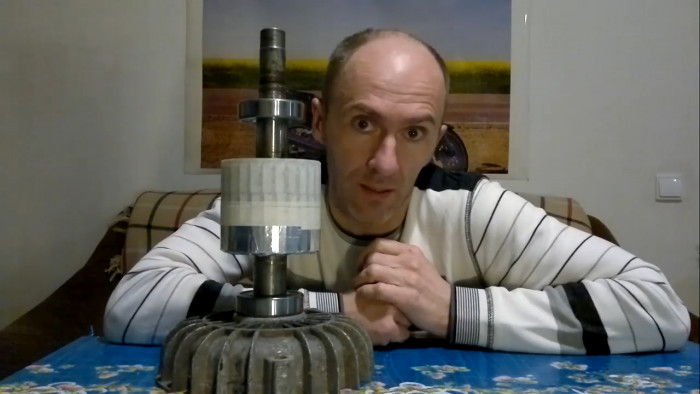
As a result, we have 2 covers, and a hollow shaft (all-metal).
Next, we easily assemble all the parts together, after which it is necessary to boil symmetrically so that the washer does not rotate, but it is also not necessary to abuse the tack. Further the same from the inside. Then such result should turn out.
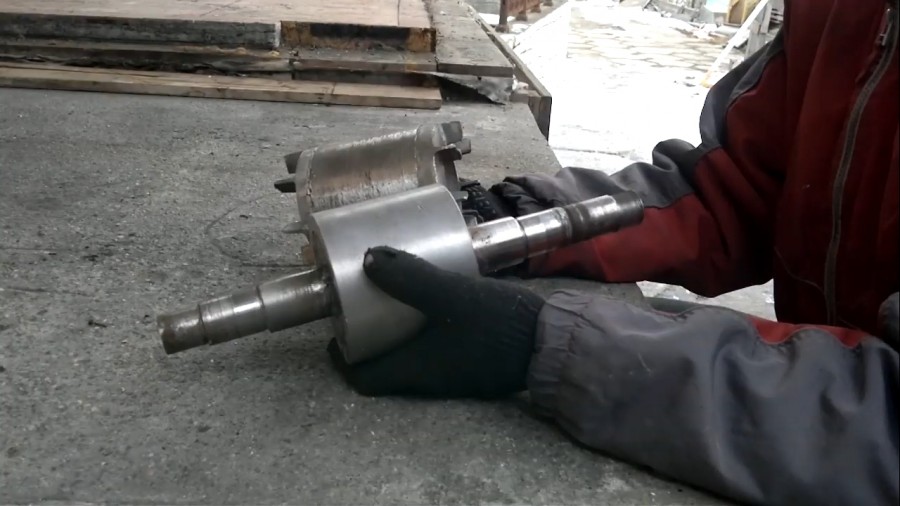
As a result, we have a rotor, which in the future we will use for the purposes we need.
Stay tuned for the following articles to not miss out on anything important.